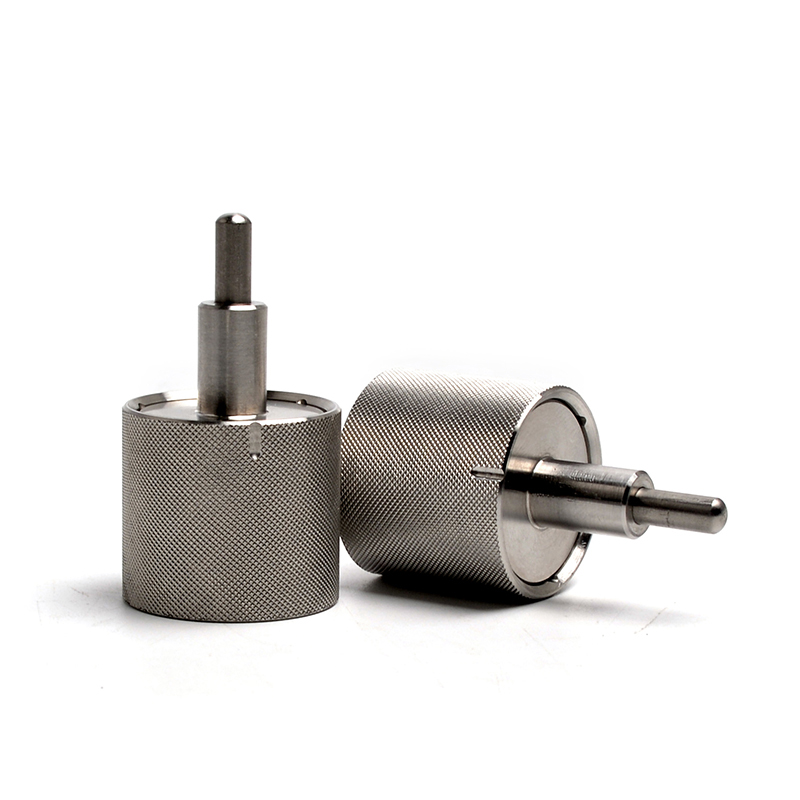
Introduction to part roughness
As a mechanical engineer, designer, or buyer, you may have come across the term “part roughness” in the manufacturing process. It is a crucial factor that can affect the functionality and reliability of the end product. Understanding part roughness and its impact on the final product can help you make informed decisions and improve your design. In this blog post, we will explore what part roughness is, how it is measured, and why it matters.

What is Part Roughness?
Part roughness, also known as surface roughness, refers to the texture or irregularities present on the surface of a manufactured part. It is a characteristic of the manufacturing process and can be influenced by various factors such as tooling, machining parameters, and material properties. Part roughness is measured in terms of Ra, which stands for Arithmetic Average Roughness. Ra is the average distance between the surface peaks and valleys. The smaller the Ra value, the smoother the surface.
How is Part Roughness Measured?
Part roughness is measured using a profilometer, which is a specialized instrument that scans the surface of the part and calculates the Ra value. The profilometer uses a diamond-tipped stylus to trace the surface, and the resulting data is analyzed to determine the surface roughness. Ra values can range from a few nanometers to several microns, depending on the manufacturing process and requirements.
Why Does Part Roughness Matter?
Part roughness plays a critical role in the functionality and reliability of the end product. For example, a smooth surface with low Ra values is more resistant to wear and corrosion, leading to longer service life. On the other hand, a rough surface can cause friction and wear, affecting the performance of the part. Part roughness can also impact the sealing ability of mating parts. A rough surface can interfere with the sealing surfaces, causing leaks and reducing the efficiency of the system.
How to Control Part Roughness?
Controlling part roughness requires careful consideration of the manufacturing process and parameters. Factors such as tooling, cutting speed, feed rate, and coolant can all impact the surface finish. Choosing the right tooling and machining parameters can help achieve the desired surface finish. Furthermore, post-processing techniques such as grinding or polishing can be used to improve the surface roughness. Material properties also play a role in part roughness. Material hardness and ductility can affect the surface finish, and selecting the appropriate material can help achieve the desired surface quality.
Conclusion:
In conclusion, understanding part roughness and its impact on the final product is crucial in mechanical engineering. Ra values provide a standardized metric that can be used to compare surface finishes and ensure consistent quality. Careful consideration of the manufacturing process and parameters is necessary to achieve the desired surface finish and ensure optimal functionality and reliability of the end product. By controlling part roughness, engineers, designers, and buyers can improve the performance, efficiency, and service life of their products.
